Mastering the Art of Effortless Photo Editing
You’ve snapped the perfect shot. The lighting is right. The angle is on point. But what’s that? Some random person or a pesky object has photobombed your masterpiece. Enter the ai website to remove object from photo—a true lifesaver in the age of aesthetic everything.
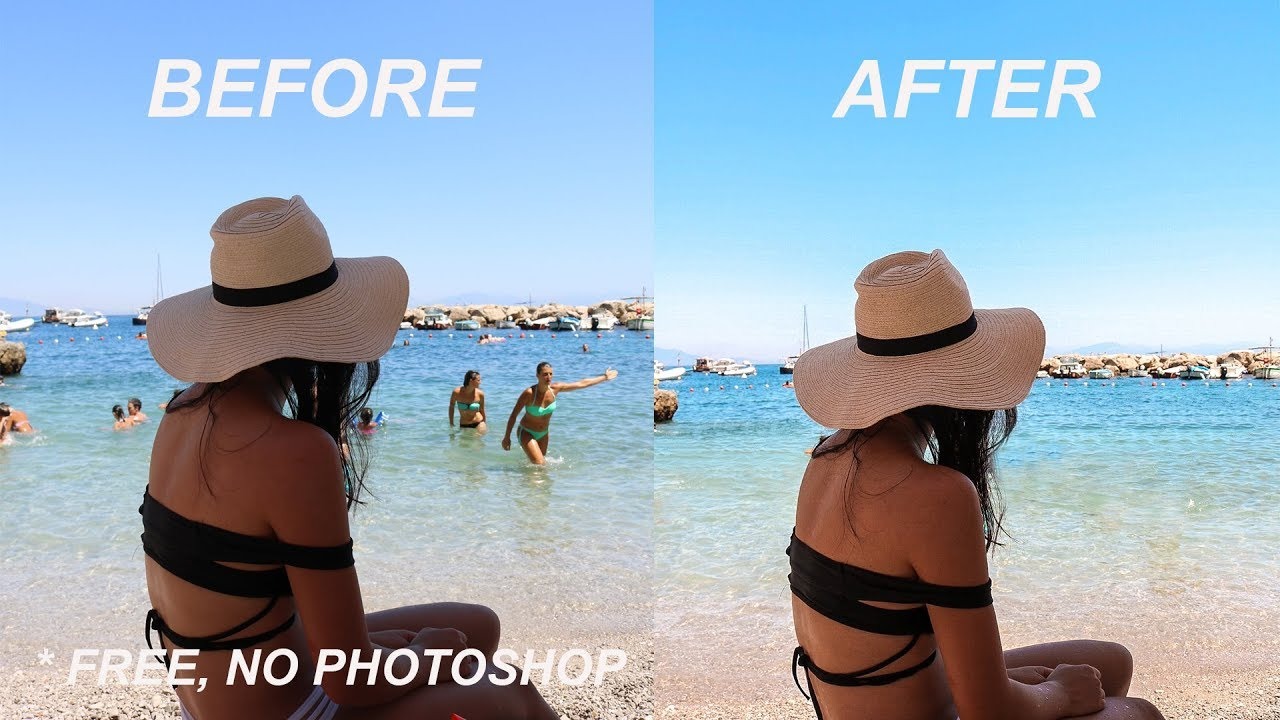
First stop, let’s dive into Magic Eraser. You upload your photo, mark the unwanted intruder, and voilà, it’s gone! What makes Magic Eraser shine? It blends the surroundings smoothly, like butter on a hot pan. Seriously, the edits are almost invisible to the naked eye. Imagine being able to tell the story of your beach vacation without that annoying seagull in the background.
Next up, we’ve got Inpaint. This platform is user-friendly and reliable. Its secret sauce? The algorithm. It analyzes surrounding pixels and fills in the gaps with ease. It’s like patching up a wall with perfectly matching paint. Whether it’s a photobomber at a party or an electric pole ruining your scenic view, Inpaint’s got your back.
Slazzer’s another gem in this treasure trove. This tool is particularly stellar at dealing with more significant obstructions. Sometimes, you get photos with major distractions—an unsightly trash can or a parked car. Slazzer sweeps them away like a digital janitor, giving you a spotless image in return. The processing is swift and the outcomes? Quite surprising!
Ever heard of Cutout.pro? It’s gaining traction for good reason. This tool tackles object removal with precision, offering features that, while pretty advanced, won’t leave you scratching your head. Perfect for those who consider themselves digitally challenged but demand high-quality results. Trying to impress your Instagram followers or scrapbook enthusiasts? Cutout.pro helps you keep up those appearances.
On the flip side, let’s not forget the iconic Adobe Photoshop. While not purely an AI website like the others, Photoshop’s “Content-Aware Fill” feature deserves a spot on the list. The magic wand of digital manipulation, it’s for those ready to invest a bit of time and effort. The end results? Chef’s kiss!
Then there’s Remove.bg, an ace at cutting out backgrounds but surprisingly effective for object removal too. It’s quick and doesn’t require any manual input. Remove.bg doubles as an all-rounder, letting you get creative with its endless possibilities for image manipulation.
Each of these tools comes with its flair and strengths. Magic Eraser might be your go-to for smooth blending, while Inpaint delivers simplicity and reliability. Slazzer handles the big league intrusions, and Cutout.pro shines in user-friendly precision. Adobe Photoshop remains a legendary tool for those willing to learn the ropes, and Remove.bg pulls double duty for various editing needs.
Let’s face it, these AI tools are heaven-sent for today’s fast-paced, visually-driven world. They cater to both the ordinary Joe looking to clean up holiday snaps and the semi-pro photographer aiming to publish pristine shots. It’s like having a Swiss army knife of digital cleanup. No PhD in computer science needed.

Master Object Removal from Photos with Ease
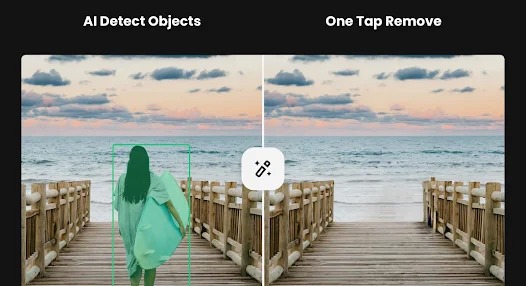
Have you ever taken the perfect photo only to discover an unwanted element spoiling the scene? Say goodbye to the frustration! With an ai website to remove object from photo like Magic Eraser, you can make unwelcome distractions vanish. Let’s dive into how you can maximize this tool to create truly standout images.
Playful Experimentation
When you remove distractions from your photos, think of it as a fun game of hide-and-seek. Don’t hold back from trying different things. Sometimes, the object you initially felt was the problem may be less of a culprit than something else. Play around, see what works best, and let your creativity shine through.
Focus on Composition
Composition is king. Removing objects isn’t just about getting rid of an eyesore. It’s about better framing your subject. By eliminating unnecessary clutter, you can draw attention exactly where you want it. Whether it’s a beautiful landscape or a close-up portrait, make sure the main focus of your image stands out.
Size Matters
Not all objects are created equal. Some tools let you fine-tune the size of the removed object. This flexibility can save you lots of back-and-forth adjustments. Start with smaller elements before tackling larger ones, especially if they’re close to your main subject.
Color and Light Consistency
If the lighting or color around the removed spot is inconsistent, you’ll end up with a jarring patch. To avoid this, use the color correction and blending tools available. A seamless transition ensures the final photo looks natural and coherent. This might take a bit more effort but yields impressive results.
Make Use of Patterns
Patterns can be your best friend or your worst enemy. Removing objects from a background with a lot of patterns can be tricky. However, if used wisely, patterns can also help disguise the absence of an object. Pay attention to repetitive elements and try to incorporate them into the edited area.
Navigating Complex Surfaces
Ever tried removing an object from a textured background? It can feel like trying to fit a square peg into a round hole. But don’t fret! Look at existing textures nearby and use them to patch up the area. For instance, if there’s a gritty brick wall, use the texture of the surrounding bricks to fill in the gaps seamlessly.
Use Multiple Tools for Best Results
Don’t put all your eggs in one basket. Use a combination of tools like clone stamp, inpainting, and blending. Each tool offers its own strengths. By combining them, you can achieve cleaner, more professional-grade results.
Imagine the End Result
Before hitting that erase button, envision the final picture. What should it look like? Sometimes, taking a moment to see the bigger picture can give you a clearer idea of which objects truly need to go and how the final image should appear.
Learn from Mistakes
Sometimes you’ll make a mistake and that’s perfectly okay. Roll with it! Each error is a stepping stone to mastery. Undo the changes, step back, and reassess. Trial and error will eventually lead you to the perfect edit.
Keep an Eye on Details
Details make or break the shot. After removing an object, zoom in and inspect the area closely. Are there any odd edges or mismatched textures? Paying attention to these little elements can elevate your photo from good to spectacular.