In the world of graphics design, Canva is an exceptional tool recognized by most designers. This is not only because of the exceptional features they offer, but also because it is online-focused. Due to this, designers have unlimited access to various templates and elements they can ever think of using when designing. And with the most exceptional feature that Canva offers is the ability to erase part of an image, making it stand out from other graphics design tools. Without beating around, we are going to share with you how to erase part of an image using Canva. Hence, you want to take your time to go through our post properly. Read on.
Steps to Erase Part of an Image in Canva
Erasing parts of an image might sound tricky, but we assure you it’s an easy process with a few steps. Erasing an image in Canva comes in two main ways: by using the erase tool or simply selecting the area to erase. The tool we can use to erase part of an image in Canva is the “Magic Eraser tool.” With this tool, users can easily remove certain objects from their photos with a click. Isn’t that cool? Well, to use the powerful “Magic Eraser tool,” the first step is to select the photo. Followed by the selection, edit the image, and then use the “Magic Eraser tool” from the Tools’ menu by clicking it. After selection, you can then toggle the brush size according to the size of the object you want to erase. All you have to do is paint over the object, and wait for the editor to fully complete the object removal from the photo. Below are the steps:
1. Choose the Area to Erase
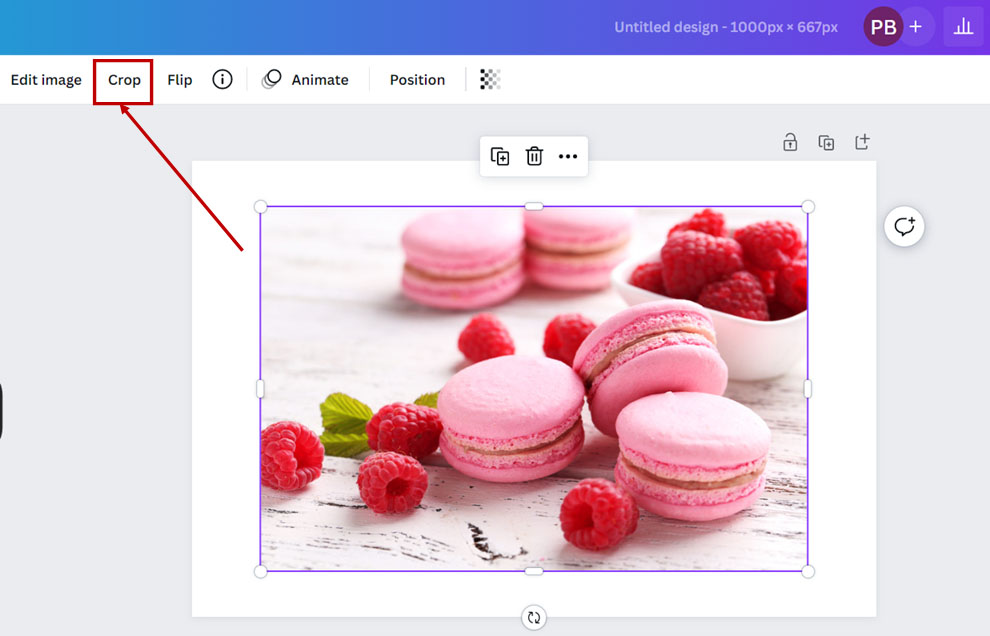
In this step, before selecting the area to erase, you will have to choose the image you want to edit. Once selected, you will find the “Crop & Flip” button on the top toolbar, which you will click on. And right from there, you can easily choose the “Crop” option and then the “Free Crop” option. Once you are done selecting the “Free Crop” option, you have the privilege to click and drag the corners of the image to crop it to your preference. After that, you can then select the “Crop” button once again and choose the “Transparent Background” option. Doing this will help you remove the background of the cropped image, leaving out only your area of preference.
At this point, if you want to erase some parts of the image, you can simply use the “Eraser” tool that you can find in the same menu. To utilize the eraser tool, choose the size of the eraser brush. You can then click and drag the eraser over the pieces of the image you need to erase. The eraser tool is particularly valuable for removing very few details or scarce lines from a picture. Assuming you find that the brush size is too large or excessively small, you can change the size to one of your choice from the brush size slider on the left by flipping along the slider. Take the cursor back to your image to erase or restore any piece of the picture until you attain your ideal outcome.
2. Adjust the Erased Area
Adjusting the erased area to your liking is crucial when erasing parts of an image in Canva. Using the undo option, or fine-tuning with Zoom, should make this possible.
3. Utilize the Undo Option
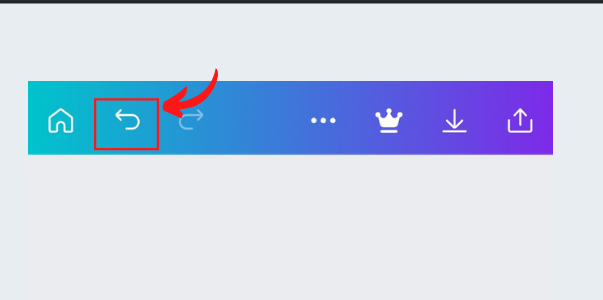
On the off chance that you mistakenly erase a lot of images or erase some unacceptable parts, it can be reversed. Using the undo option, you can easily return to the previous state. All you have to do is click on the fix button that you will find at the highest point of the screen. Another way is to utilize the keyboard shortcut “Ctrl+Z” on Windows or “Cmd+Z” on Macintosh.
4. Fine-Tuning with Zoom
The main function of this technique is to zoom in on the image. Doing this will allow you to get a clearer view of the erased area and make more adequate adjustments to your preferences. To zoom in, check the bottom of the screen to use the zoom slider, or utilize the keyboard shortcut “Ctrl++” for Windows or “Cmd++” on Mac. To zoom out, utilize the zoom slider or the keyboard shortcut “Ctrl+-” on Windows or “Cmd+-” on Mac.
5. Exporting and Saving Your Edited Image
Once you are done erasing the desired part and fine-tuning your image, it is obvious that the next step is to export and save your edited image. One exciting feature Canva offers is the option to save and export your image according to your preferences.
To save your edited image, just click the “Download” button in the upper-right corner of the screen. Immediately, Canva will prompt you to choose the file format in which you want your image to be exported and saved. The available formats are PNG, JPG, or PDF. Select the ideal file format and click “Download” again to save your edited image to your PC.
If you choose to share your edited image via social media or use it on your site, you can likewise send out your image straightforwardly from Canva. To do this, simply click the “Share” button in the upper right corner of the screen. Canva will then allow you to choose the platform you would like to share your picture on, like Facebook, Twitter, or Pinterest. Select the ideal platform and adhere to the guidelines to share your edited picture.
Also, to save your edited picture in Canva for future purposes, you can easily save it to your Canva account. To do this, you also have to click the “Save” button in the upper-right corner of the screen. Then, Canva will then ask you to name your design and select a folder to save it in. Whenever you’ve done this, your edited image will be saved to your Canva account for future reference.
Takeaway
The Eraser Tool is not accessible in the free version of Canva, however, you can sign up and opt-in for the free trial of the pro version. One thing we assure you is that with access to the Background Removal tool, you will also have access to the eraser tool. What are you waiting for when you know all the ins and outs of erasing part of an image in canvas?