The power to heal brush tools to erase unwanted elements from your photographs is no longer the domain of magic or complex image manipulation software. Lightroom, Adobe’s user-friendly photo editing program, empowers photographers at every level to make their images aesthetically flawless.
Whether it’s a photo bomber, a telephone pole, or a blemish on an otherwise perfect landscape, the tools in Lightroom offer a surprisingly simple solution to these unwanted intrusions. Hone your editing skills with these essential tips and tricks that guarantee clean, seamless object removal.
1. Assess Each Situation with Precision
Before you start removing anything in your photograph, take a close look at what you’re dealing with. Not all objects can be easily erased, and some may require a more sophisticated approach, such as using the clone stamp or healing brush tools for intricate patterns or textures.
Consider Three Key Factors:
- The Original Background Texture: A smooth, consistent texture is ideal for content-aware fills.
- Edge Complexity: Sharp, well-defined edges are easier to work with.
- Nearby Elements: Evaluate if any surrounding details could be altered or misaligned by a brush tool.
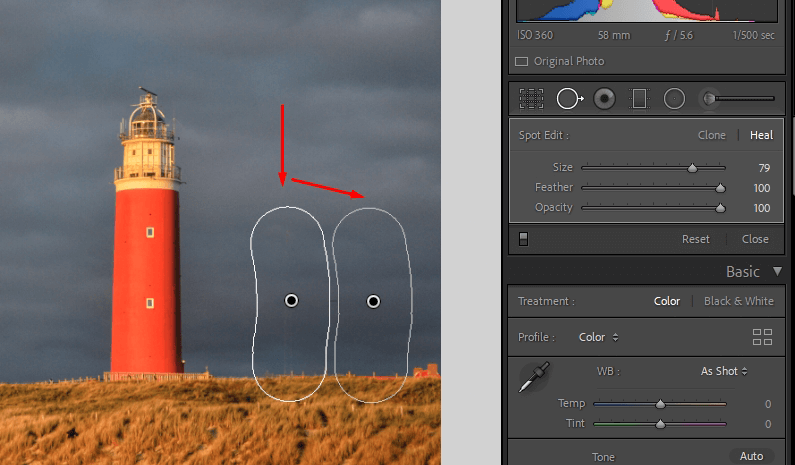
2. Use the ‘Spot Removal’ Tool with Purpose
The Spot Removal tool is your primary weapon for simple object removal tasks in Lightroom. It’s intuitive, efficient, and can deliver fantastic results.
Best Practices for the ‘Spot Removal’ Tool:
- Choose Your Type: The tool offers two modes: ‘Healing’ and ‘Clone.’ Decide which best suits the situation.
- Adjust the Brush Size: Use the bracket keys on your keyboard to increase or decrease the brush size for precise adjustments.
- Work in Steps: Make multiple smaller healing or cloning adjustments rather than a single large one to retain more detail.

3. Master the Art of Cloning with Precision
The clone stamp tool is particularly effective when pattern and texture consistency are crucial for a natural looking edit.
Techniques to Perfect the Clone Stamp:
- Sample Smartly: Hold ‘Option’ or ‘Alt’ to choose a source. The ability to sample is the key to believable cloning.
- Reduce Opacity and Flow: When in doubt, work with lower opacity and flow settings to build up corrections gradually.
- Flip Horizontally or Vertically: Use these options to prevent repetition in your cloned area.

4. Understand Content-Aware Fill for Complex Edits
Lightroom’s content-aware fill, introduced in newer versions, is a highly effective tool for more complex object removal.
How to Harness Content-Aware Fill:
- Select and Mask: Create a precise selection using the lasso or brush another great tool for the best results.
- Refine the Edges: The refinement edge tool selected helps you maintain a natural blend with the background.
- Preview and Tweak: Always preview the fill before confirming it. Adjustments might be necessary to ensure a perfect match.
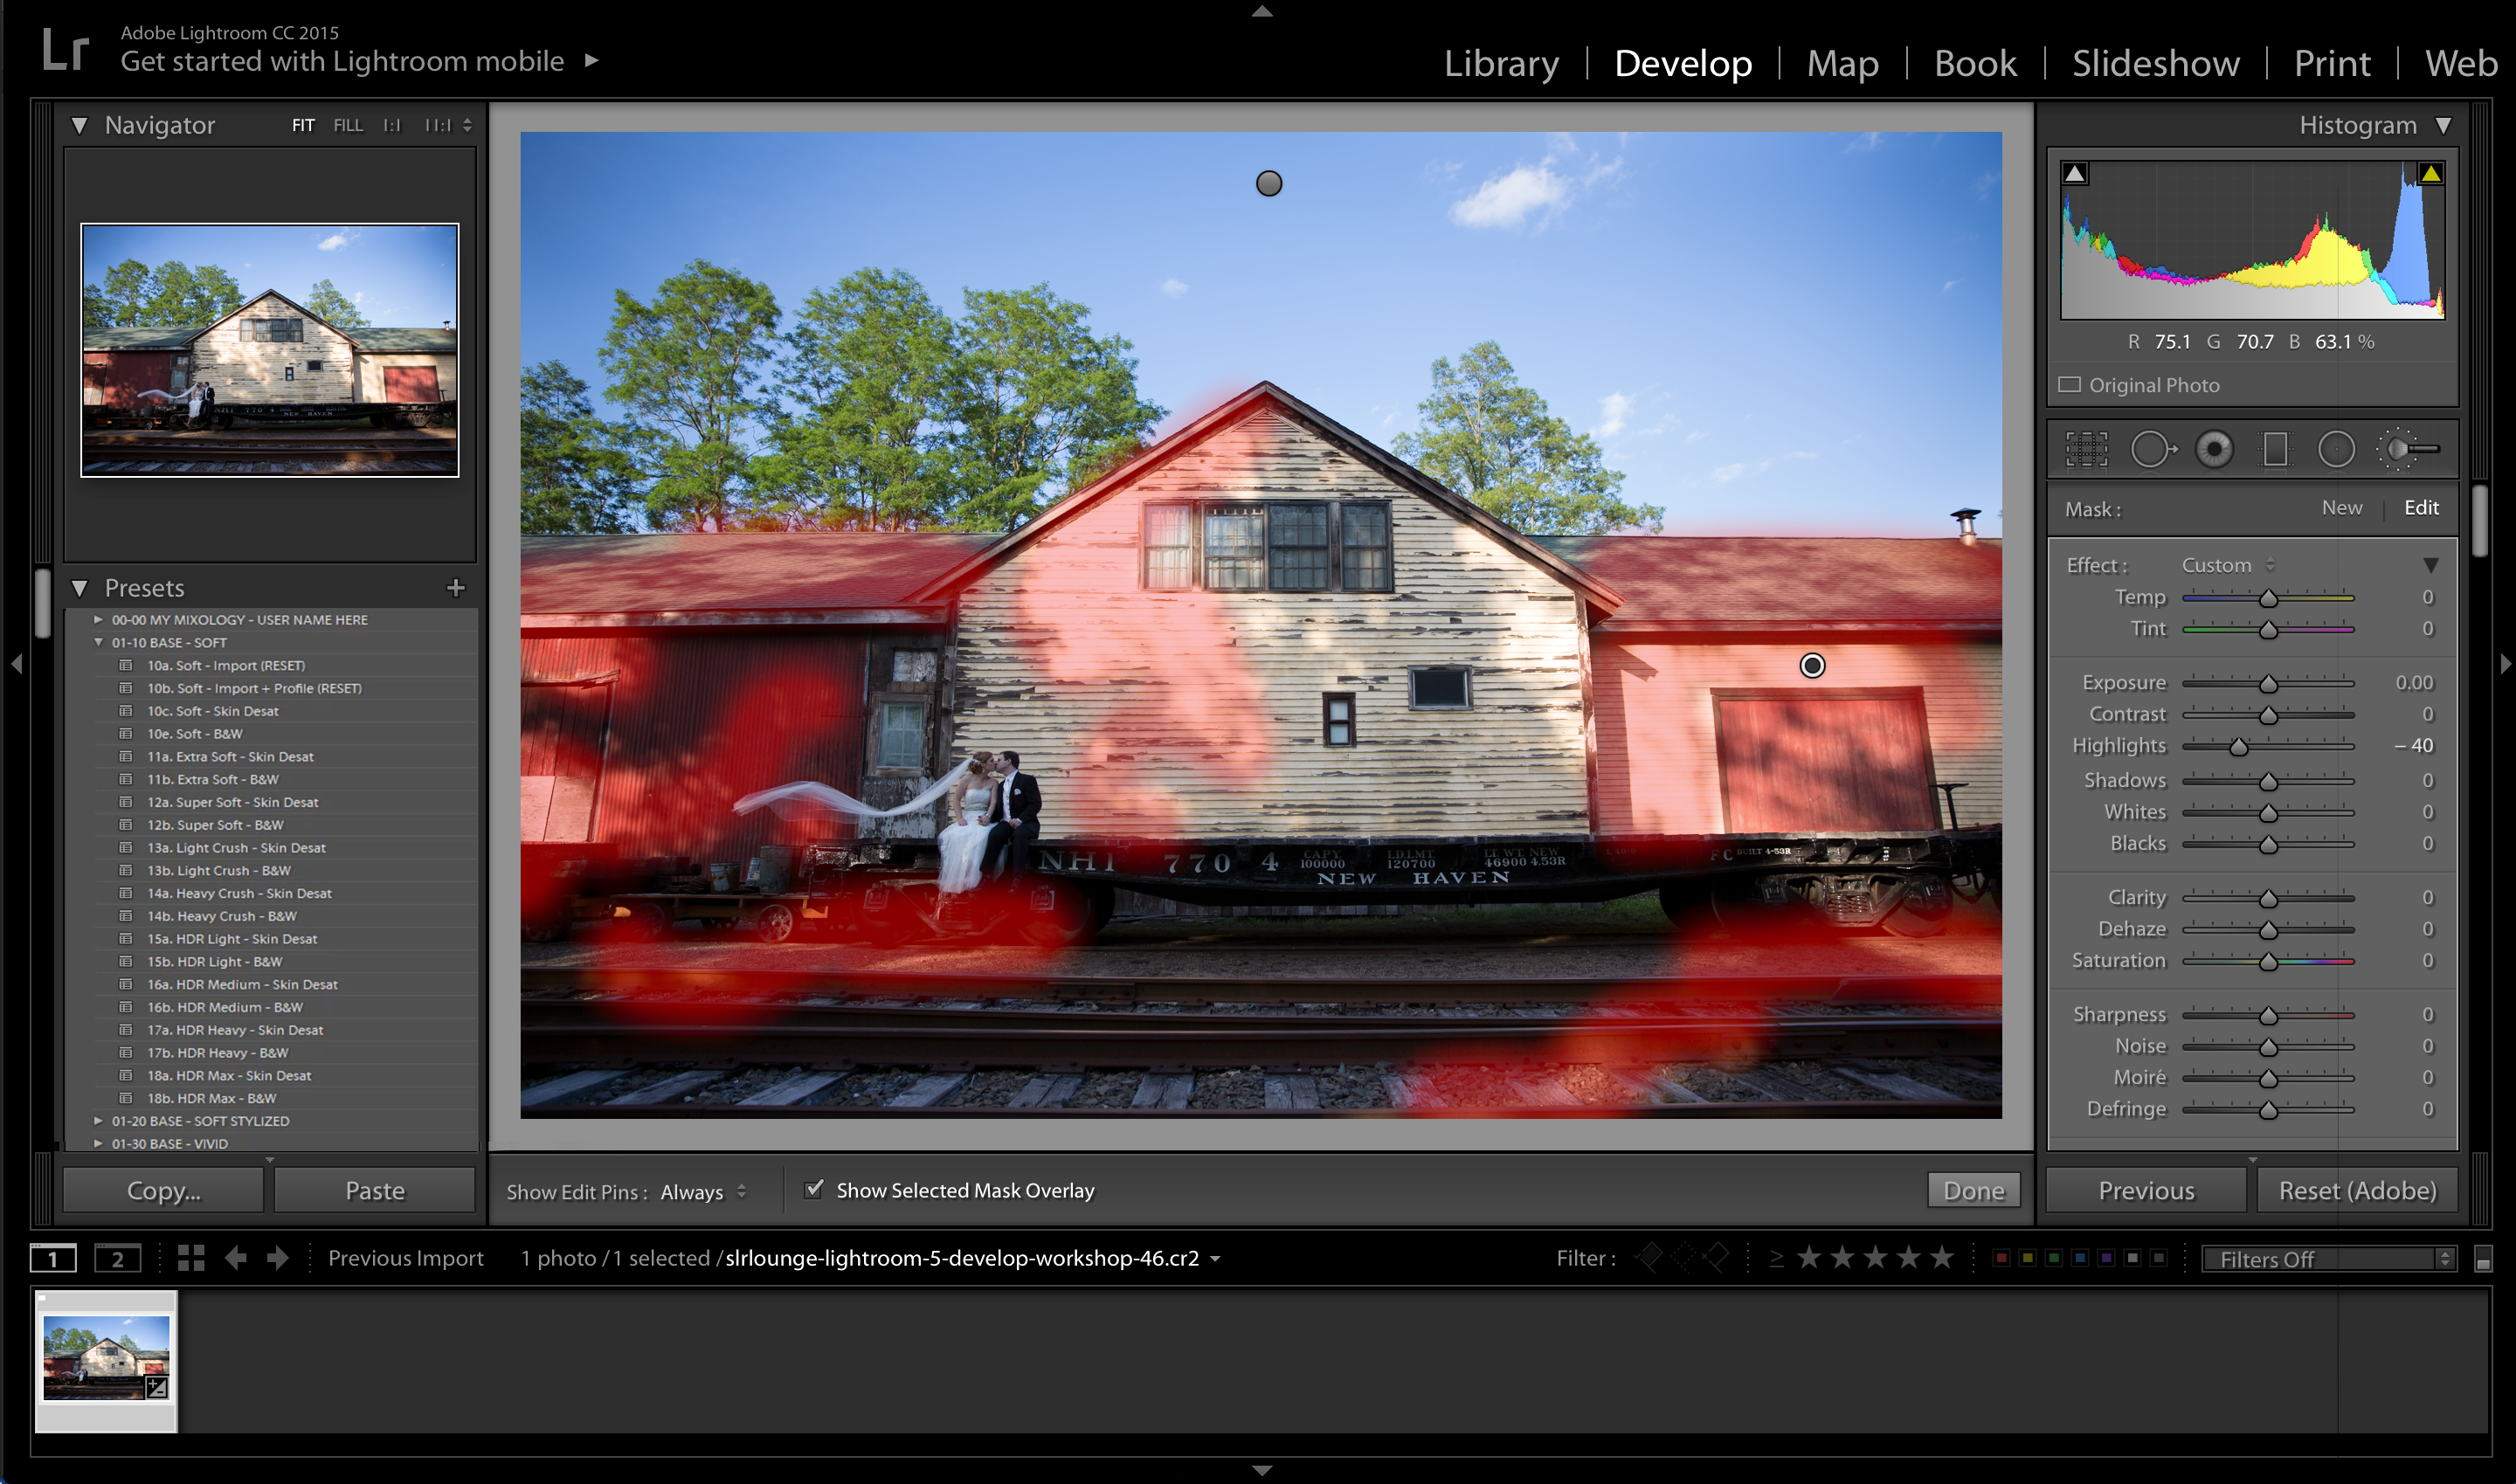
5. Blend Seamlessly with Adjustment Brushes
Removing and removing people or objects in Lightroom is just the beginning. Using the Adjustment spot healing brush tool, you can blend the edited area seamlessly with the rest of the photograph.
The Trick to Using Adjustment Brushes:
- Maintain Consistency: Ensure that the exposure, clarity, and other attributes match the surrounding areas.
- Feather Your Edges: A soft feather on your adjustment using the spot healing brush will help the corrections blend smoothly into the original image.
- Experiment with Multiple Layers: Overcome challenging textures or lighting by using multiple layers of adjustments.
6. Retouching Workflow that Protects Original Data
The importance of a non-destructive workflow in Lightroom can’t be overstated. Always edit on a separate layer or make virtual copies to protect the original data.
A Non-Destructive Workflow Involves:
- Use of Virtual Copies: Make several virtual copies to compare different retouching methods to remove altering the original.
- Smart Object Selection Layers: If you’re using Adobe Photoshop in conjunction with Lightroom, convert your duplicate layer layer to a smart object you want to remove unwanted for re-editing the cloned or healed element.
- Frequent Saves: Save your work often, using incremental file naming, so that you can step back to any point in your edit.
7. When to Call for Backup with Complex Object Removal
Not all remove objects in photoshop can be achieved with the precision of a sampling brush tool to remove. Some will require the muscle of Adobe Photoshop for the heaviest lifting.
Consider Moving to Adobe Photoshop When:
- Complex Patterns and Textures: Plaids, fabrics, and intricate designs might not respond well to Lightroom’s tools.
- Perspective Changes: You need to alter the perspective of your photo, a task best reserved for Adobe Photoshop’s advanced tools like the content-aware move.
- Wholly Unmanageable Objects: If the object from a photo is too large, intricate, or challenging for Lightroom, it’s better to manipulate it in Adobe Photoshop.
Lightroom is a remarkable tool to remove for photographers eager to craft the perfect image. By following these tips and tricks for quickly removing an object in photoshop, you’ll be amazed at how natural your edits can look.
conclusion
In the realm of digital photography, mastering the art of object selection tool works removal in Lightroom is akin to wielding magic. This guide has armed you with the essential techniques and strategies to erase unwanted elements, ensuring your images captivate and communicate exactly as you envision.
The true power lies in practice and experimentation. Each photograph presents a unique challenge, inviting you to apply these tools creatively and refine your skills further.